By The Frogfather
A healthy Marcgravia can become one of the most attractive parts of a planted vivarium. Once a runner starts heading somewhere useful, the temptation is to snip it, press it against another background and expect a second plant.
Sometimes propagation is straightforward. At other times, the cutting dries, the stem softens or the promising little section simply sits there. The useful starting point is understanding what you are separating and what it needs to become an independent plant.
This guide sets out a cautious practical approach to cuttings and attached rooting. It explains the reasoning, the observations worth recording and the limits of what we can claim. There is no universal rooting deadline for every plant sold under a Marcgravia label.
Quick answer
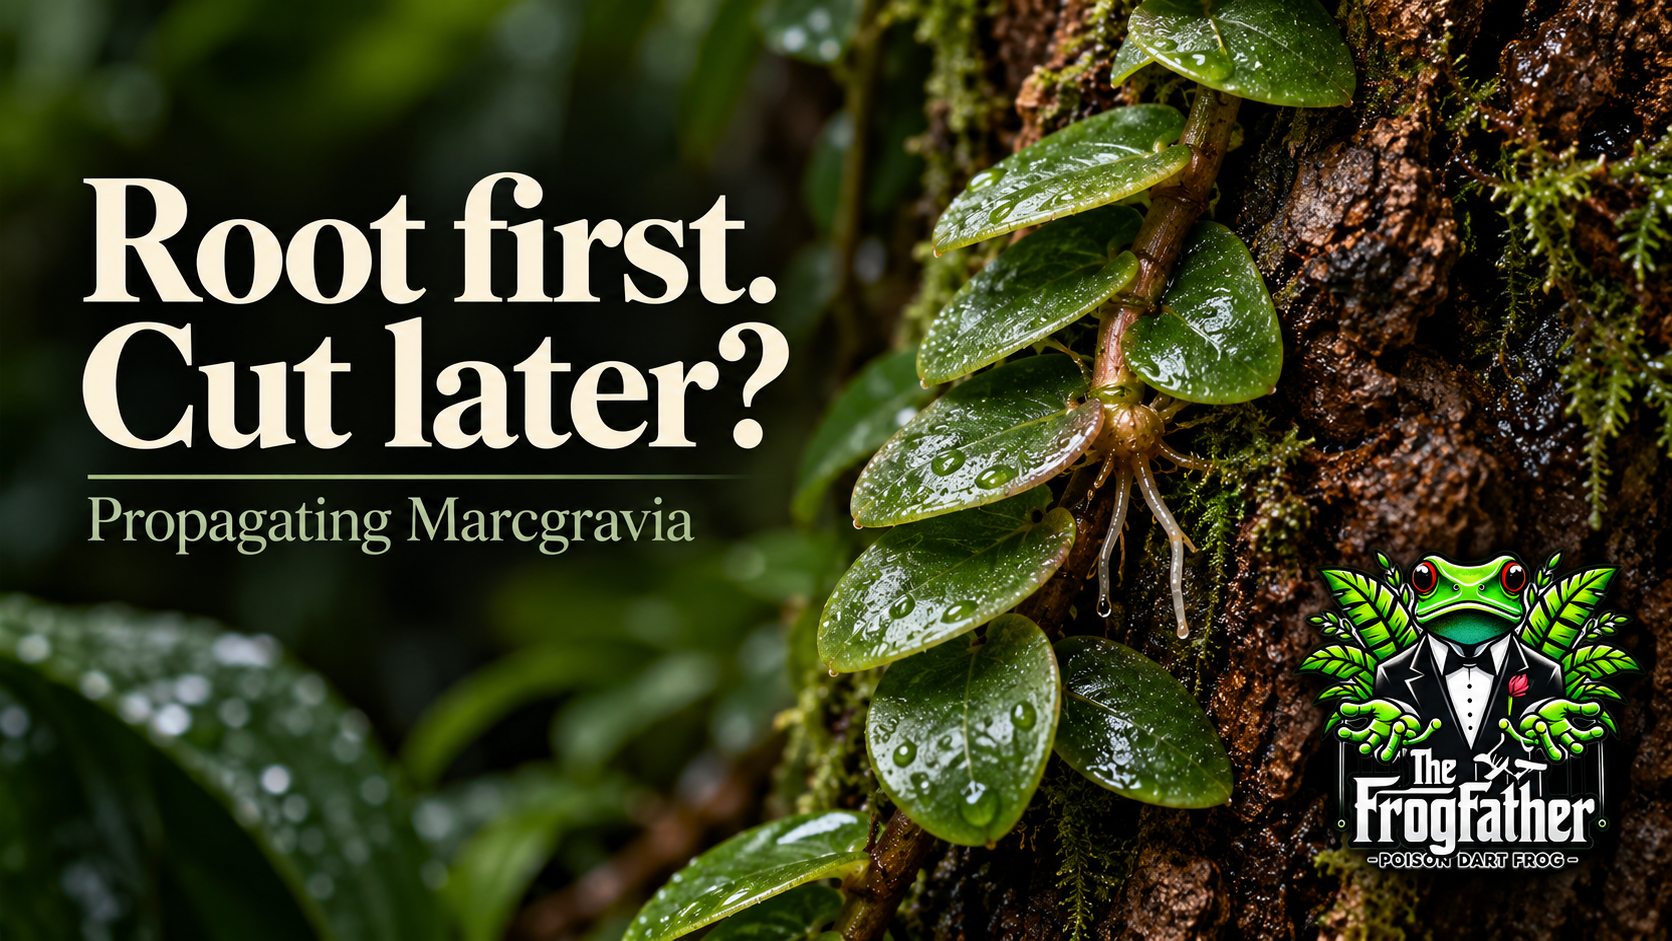
Use healthy, correctly labelled material and identify the nodes before cutting. For a cutting trial, retain a viable section of stem with nodes and support it against a suitable moist, aerated rooting surface. Where practical, investigate rooting a suitable runner while it remains attached to the parent. Separate it only after an adequate root system has developed.
Keep propagation materials and treatments away from frogs. If identity, treatment history or plant condition is uncertain, resolve that before introducing propagated material into another occupied vivarium.
Start with the label, but do not overinterpret it
Marcgravia is an accepted plant genus in the family Marcgraviaceae. Kew’s Plants of the World Online is a useful taxonomic starting point [1]. However, a hobby name on a cutting is not automatically a verified species identification.
Labels such as ‘Bronze’, ‘El Coca’ or ‘umbellata-type’ may communicate a seller’s line or working identification. They should not be silently upgraded to a confirmed botanical species. Retain the exact original wording and source when propagating a plant.
For an unidentified plant, writing Marcgravia sp. followed by the supplied hobby designation is more honest than inventing a binomial. A propagation article also cannot establish that two similar-looking plants from different sources are the same species or clone.
This matters when sharing advice. Record which plant responded to a method. A result with one runner provides useful evidence about that trial, without proving that every Marcgravia will behave identically.
Choose a healthy parent before choosing a method
Propagation is easier to assess when the parent is growing normally. Look for firm stems, sound leaves and an absence of obvious pest activity. A plant losing roots or developing soft tissue needs investigation before it becomes the source of multiple new cuttings.
Avoid taking a large proportion of the useful growth from a small or recently established plant. The objective is another healthy plant, not a heavily stripped parent and several struggling fragments.
Inspect the intended section in good light. A runner that looks healthy from the front may have damaged tissue where it has been squeezed behind hardscape. Check the whole section you intend to use, including the underside where accessible.
If roots are already deteriorating, our guide to vivarium plants losing roots is the more useful starting point. Propagation should not become a substitute for correcting the conditions affecting the parent.
Find the nodes and preserve useful structure
A node is the point on a stem where a leaf is attached; buds and, in suitable plants, roots may develop in association with these regions. The stem section between nodes is the internode [2].
Before cutting, identify the leaves, nodes, growing tip and any existing roots. Photograph the runner if the structure is difficult to follow. That is especially useful when several overlapping stems have attached themselves to a background.
For a first trial, avoid reducing valuable material into the smallest possible fragments. A piece retaining several healthy nodes and leaves gives you more structure to inspect and support. The exact suitable size depends on the plant and the condition of the available growth.
A detached leaf should not be assumed equivalent to a nodal stem cutting. Different plant groups have different regeneration abilities. For an unverified Marcgravia line, use a method that retains viable stem tissue rather than promising that every leaf can make a new plant.
Two useful routes: cut first or root first
With a stem cutting, you separate a section and then manage it as an independent propagation. That gives flexibility about where the new plant roots, but the separated piece must establish without remaining attached to the parent.
Layering takes a different approach. A suitable stem is encouraged to root while it remains attached, and the rooted section is separated later. The RHS describes this general principle in its layering guidance [3].
Neither route is automatically best for every runner. A low, flexible stem may be easy to secure against rooting material. A high runner may be accessible with a support or pod. An awkward stem woven through valuable planting may be better left alone.
Choose the least disruptive workable approach. If propagation requires dismantling half an occupied vivarium, start with a different runner or an external nursery plant instead.
Prepare a small propagation area
For initial trials, a separate propagation container makes observation easier and avoids adding unnecessary materials to animal housing. Use a clean container with enough space to position the cutting without crushing its leaves.
Select a rooting medium suitable for the plant and method. Clean sphagnum is one option for a small moist rooting zone; other appropriate propagation media may also be usable. The important practical requirements are manageable moisture, support and access for inspection.
Moisten the medium evenly and remove excess free water before positioning the cutting. Do not pack it into a dense wet plug simply because Marcgravia is associated with humid vivariums. Moisture and aeration need consideration together.
Provide appropriate light without allowing the container to overheat. A closed propagation box beside a bright window can change temperature quickly. Monitor the container’s actual conditions and make sure its cover and ventilation arrangement suit the method being used.
Taking a nodal stem cutting
Work outside animal housing where possible. Prepare clean, sharp tools and a labelled container before making the cut. Follow an appropriate tool-cleaning routine between plants, especially when pest or disease concerns exist.
Choose a firm section with identifiable nodes. Make a clean cut that retains the intended viable tissue. Avoid dragging the blade through nearby leaves or pulling an attached stem away from the background to save a few seconds.
Position the cutting so suitable nodes can contact the rooting surface without burying the whole leafy section in saturated material. Support it gently. Any temporary fixing should hold the plant without constricting or puncturing the stem.
Record the date, original label, parent identity and method. Keep a simple photograph of the starting arrangement. Then allow the cutting to settle rather than repeatedly lifting it to see whether roots have appeared.
Encouraging roots before separation
Where a suitable runner can remain attached, support a rooting zone around or beneath an appropriate section. The general intention is to provide a manageable rooting environment while avoiding unnecessary damage to the stem.
This is related to layering, but do not automatically copy woody-plant air-layering instructions onto a fine vivarium runner. Wounding, ring-barking and hormone use are not universal requirements. The RHS air-layering guide describes methods for particular plant situations; it is not a validated Marcgravia protocol [4].
For a cautious first trial, inspect whether the selected section already shows root development and whether contact with suitable moist material can be maintained without injury. Keep the parent in otherwise appropriate growing conditions.
Check the rooting zone periodically for drying, excessive wetness and stem damage. If the support creates strain or the enclosed stem deteriorates, stop and reassess rather than leaving the arrangement in place solely because the method ought to work.
Where the Frogfather rooting ball fits
Our reusable plant propagation rooting ball is a reopenable pod designed to hold moist rooting material around a suitable attached stem. Its snap-shut construction lets the keeper inspect the contents and reuse the pod.
The live product listing documents a trial on a Marcgravia ‘El Coca’ runner at Frogfather HQ. It describes that trial as ongoing. This article does not add an unrecorded success rate, a guaranteed rooting period or a claim that the pod outperforms every other method [5].
If using one, support the pod’s weight, avoid trapping or crushing the stem and check that the chosen opening fits the growth comfortably. A pod is a holder for the rooting environment; it does not remove the need to manage moisture and plant condition.
Simple supports or other suitable propagation arrangements may also be practical. Choose the method around the plant, the enclosure and your ability to inspect it.
What counts as useful root development?
A firm stem and retained leaves are encouraging, but neither alone proves that a separated cutting can support itself. Look for actual roots entering the rooting medium and developing beyond a single tiny initial point.
With attached rooting, allow a useful root system to develop before separation. There is no universal number of roots or minimum length that makes every plant ready. Judge the root development alongside the size and condition of the section you intend to remove.
Avoid repeated tug tests. Pulling the stem to see whether it resists can disturb new roots. Where practical, inspect through the container or carefully open the support without dismantling the entire rooting zone.
Record what you can actually see. ‘Roots visible on inspection’ is a useful observation. ‘Fully established’ is a stronger conclusion and should be reserved for a plant that continues growing after separation and establishment.
Separating and establishing the rooted section
Prepare the receiving position before cutting the connection to the parent. Use an appropriate growing surface or medium and have supports ready. Avoid leaving exposed roots lying on the workbench while deciding where the plant will go.
Separate with clean tools below the rooted portion, retaining the new root system and useful nodes. Handle the roots gently and avoid compressing them tightly into a new mount.
Maintain suitable moisture and cover while the plant adjusts, with ventilation appropriate to the propagation setup. Do not assume that a rooted section can immediately tolerate a much brighter, drier or more exposed position than the one in which its roots formed.
Observe new growth and stem condition over time. A careful transfer followed by a stable establishment period is more informative than repeatedly moving the plant because it has not produced a new leaf immediately.
Troubleshooting a propagation that stalls
If the stem remains firm but roots are not evident, review the actual node placement, medium moisture, light and parent condition. Check whether your observations are simply too early to support a conclusion. Avoid adding several new treatments at once.
If leaves wilt, investigate moisture supply and the environment around the cutting. Increasing standing water is not automatically the answer. A cutting can be surrounded by wet material while damaged stem tissue prevents useful uptake.
Soft, collapsing or spreading discoloured tissue needs prompt attention. Isolate affected material and reassess the method. Do not move a deteriorating cutting into a frog enclosure in the hope that the bioactive substrate will rescue it.
Some leaf loss after a change in growing conditions can have several explanations. Our plant-melt guide helps separate establishment concerns from an assumption that every declining plant is beyond recovery.
Keep propagation compatible with frog welfare
A plant propagation technique is not automatically appropriate inside an occupied vivarium. Open containers, unsecured pods, sharp fixings, exposed adhesive and tools can create avoidable hazards.
Carry out cutting and preparation away from frogs wherever practical. Do not use rooting hormones, pesticides, fertilisers or household treatments in an occupied enclosure simply because they are common in plant growing. Their suitability for a plant does not establish amphibian safety.
Retain the source and treatment history of propagated plants. Taking a cutting from a treated parent does not prove that residues are absent. Nor does rinsing make an unknown treatment history disappear.
Before transferring material between vivariums, consider pests and wider biosecurity. Use the plant-selection guide and bioactive vivarium guide to place propagation within the wider planting plan.
Make the next attempt more informative
Keep the first comparison small. Use clearly labelled material and change one main feature of the method at a time. Record parent condition, starting date, rooting medium, observations and what happened after transfer.
If you compare methods, similar starting material and comparable conditions matter. One large rooted runner and one tiny fresh cutting do not provide a fair test of two different containers.
Failures are worth recording as carefully as successes. A stem that rotted in overly wet material tells you something useful about that attempt. It does not establish that the whole genus cannot be propagated in that medium.
A few dated photographs often explain more than a confident claim that something rooted ‘really quickly’. They also make any future Frogfather trial update more useful to readers who want to repeat it responsibly.
Give the plant time to become independent
Successful propagation is more than producing a brief flush of roots. The useful outcome is a labelled, healthy plant that establishes in its new position without compromising its parent or the animals around it.
Identify the nodes, protect the stem, manage the rooting zone and separate only when the plant is ready. That careful sequence gives you a method to learn from, whether your next Marcgravia is a spare nursery plant or the beginning of another planted background.
References and further reading
The checking and management workflows are practical editorial guidance. Manufacturer documents apply to their stated equipment; general horticultural and biosecurity sources do not validate every vivarium application.
- Royal Botanic Gardens, Kew — Marcgravia L.. Accepted genus and family; does not verify hobby-line identifications.
- RHS — Softwood cuttings. Nodes, internodes and general cutting principles; not a Marcgravia-specific trial.
- RHS — Layering. Rooting while attached to the parent; not a species-specific protocol.
- RHS — Air layering. General attached-stem method; woody-stem instructions must not be copied automatically onto fine runners.
- The Frogfather — Reusable plant rooting ball. Product design and documented ongoing HQ trial; commercial primary source for these details only.
- RHS — Cuttings from houseplants. General preparation and establishment background. Practical steps in this article are a cautious synthesis, not a validated protocol for every Marcgravia line.