Most new isopod keepers are told the basics: give them leaf litter, a moist substrate, and a steady source of decaying wood. That’ll keep them alive. But if you want them to breed quickly, especially slower species like ember bees, there’s one detail that hardly anyone talks about:
👉 Add live moss — the real, fresh kind you collect locally, not dried sphagnum from a bag.
This one change can completely transform the health and speed of your colonies.
Why Live Moss Works So Well
Isopods aren’t picky eaters, but they thrive in a microhabitat that’s full of life. Live moss brings that to the enclosure:
- Moisture control – Moss locks in humidity, creating a stable environment without waterlogging the soil.
- Food web starter – The surfaces of moss grow biofilm, fungi, and tiny organisms that isopods graze on.
- Shelter – Dense moss patches give isopods a safe retreat that stays humid.
- Aesthetics – Fresh green moss makes a display vivarium look alive, not just functional.
I’ve kept colonies with and without moss. The ones with moss always grow faster, look healthier, and behave more naturally.
Why Not Just Buy Sphagnum Moss?
Most hobbyists reach for dried, compacted sphagnum. It’s cheap and widely sold. But here’s the problem:
- By the time it’s dried, baled, and rehydrated, it’s dead.
- It won’t photosynthesise or spread.
- It lacks the natural microfauna that fresh moss brings.
Sure, it’ll hold water. But it won’t kickstart that living micro-ecosystem that gets isopods into breeding mode.
That’s why I always collect fresh local moss instead.
How I Collect and Prepare Live Moss
Here’s my simple process:
- Find a patch of moss – I usually collect from shaded woodland or damp hedgerows. Just take small handfuls; never strip an area bare.
- Rinse gently with RO water – This clears off obvious snails, slugs, and dirt without harming the moss.
- Introduce directly into enclosures – I place moss in clusters, often towards the humid side of the setup.
That’s it. No chemicals, no sterilising. The goal is to preserve the moss’s living community.
Keeping Moss Alive Indoors
Live moss won’t stay green in the dark. To keep it thriving, you need some light.
That’s where proper display setups come in. A standard plastic tub won’t cut it. Instead, I recommend something like the 3D Printed Isopod Display Vivarium with Ventilation & Light Option. The built-in ventilation prevents mould, and the lighting keeps your moss photosynthesising.
Once the moss takes hold, it spreads and maintains itself — and your isopods benefit the whole way.
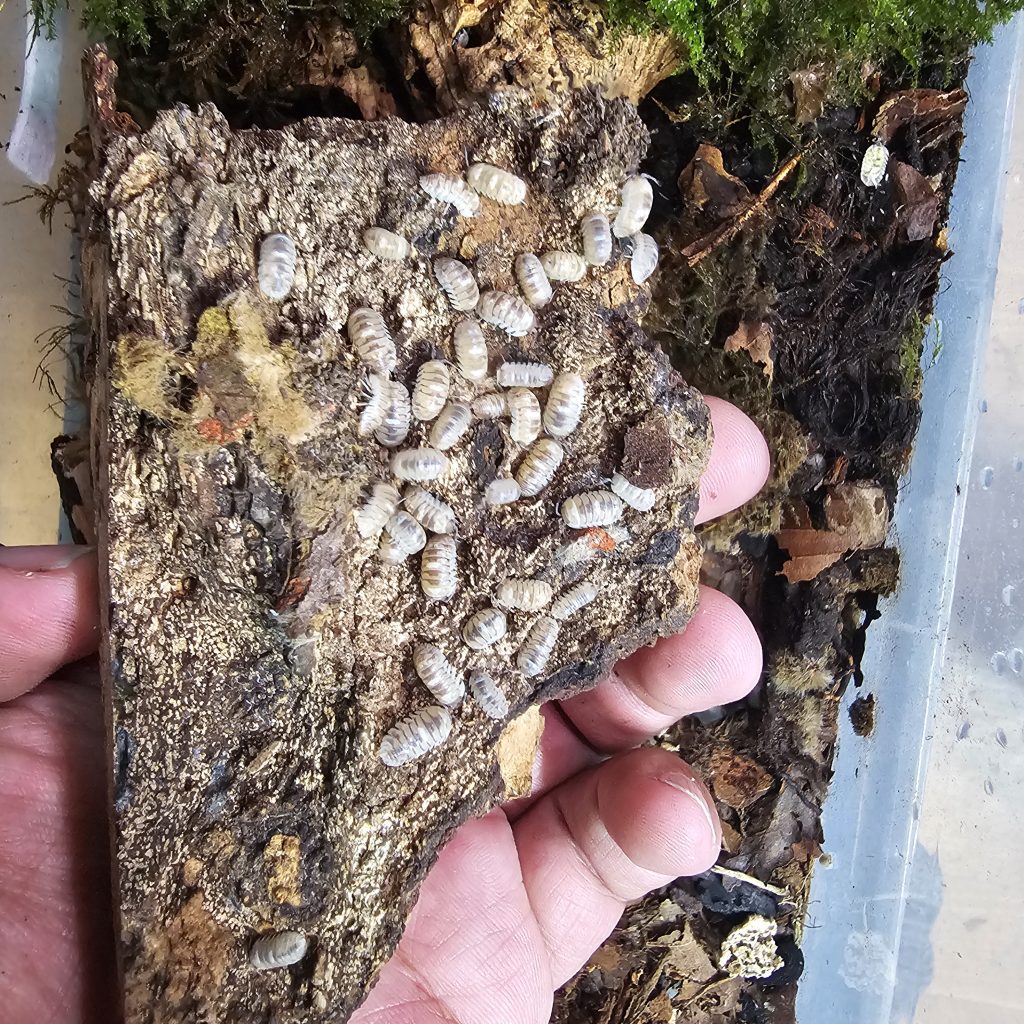
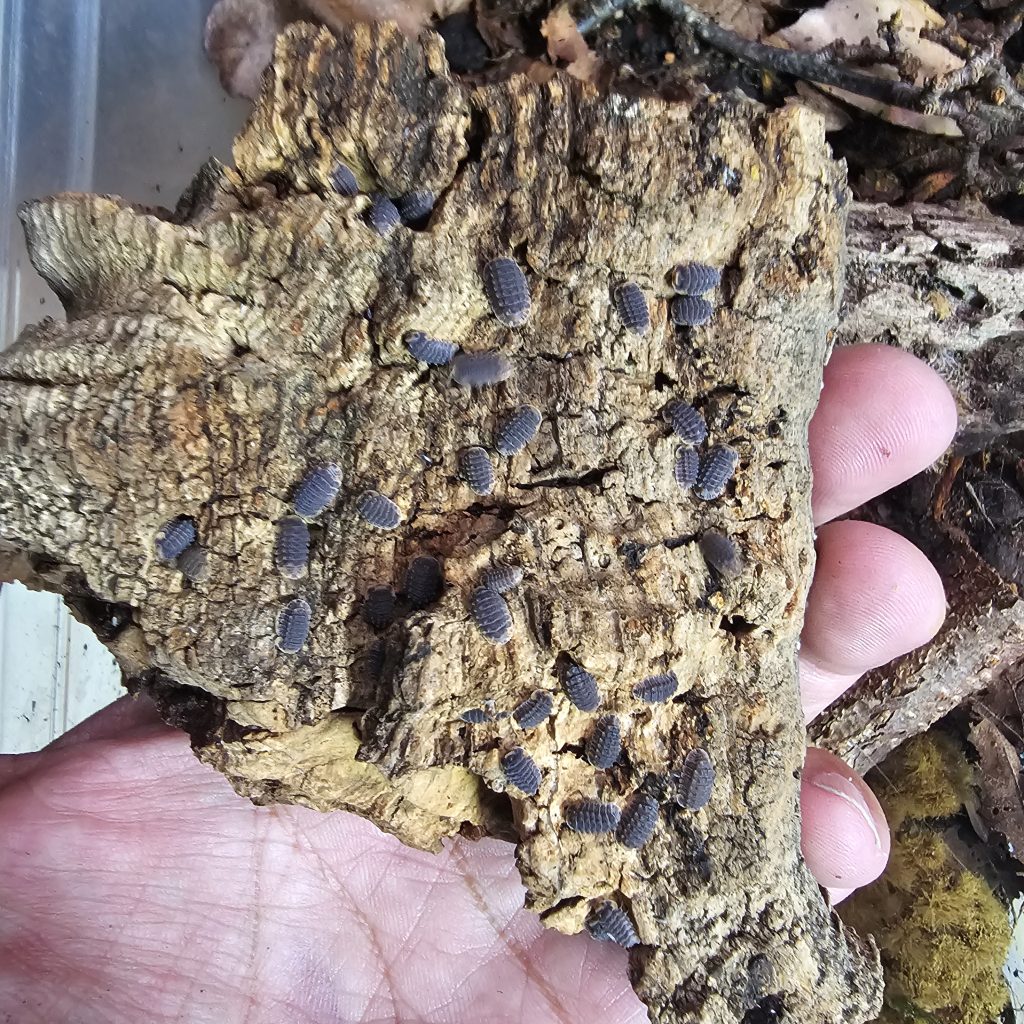
Ember Bee Isopods: The Real Test
Some species breed no matter what. Dwarf whites, dairy cows — they’ll explode in numbers even in basic setups.
But ember bees, R13, duckies and Shiny Gators…… They’re picky. Without live moss, I’ve had colonies sit stagnant for months. With moss, it’s a different story:
- They cluster under it during the day.
- They feed on the biofilm and fine roots.
- They start producing broods much more reliably.
For me, moss has been the single biggest factor in getting ember bees, and many other species to establish and breed quickly.
Why Moss Matters in Bioactive Vivariums Too
If you’re keeping isopods as part of a bioactive setup with dart frogs, geckos, or other small herps, live moss is even more valuable.
- Visual impact – It creates a lush, jungle-like floor.
- Humidity buffer – Holds water after misting and releases it slowly.
- Microhabitat variety – Gives isopods and springtails more places to hide and graze.
In a UK home where heating can dry out tanks, moss acts like a natural sponge to stabilise conditions.
The Shortcut to Breeding Success
So, how do you get isopods breeding quickly?
- Good substrate.
- Stable humidity.
- A varied diet.
- A calcium source.
But the real shortcut? Fresh, locally collected live moss.
Keep the dried sphagnum only as a humidity regulator. Go green, keep it alive, and you’ll see your colonies grow in ways you didn’t expect.